How to Activate
 AUTO REPLENISHMENT SERVICE
Before following the steps below, please make sure you have gone through the standard setup process for your new printer, which includes installing your ink cartridges and connecting to the internet
Step 1: Update to Latest Firmware
• Select Menu
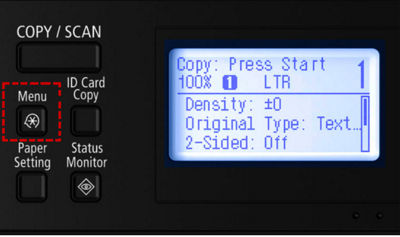

• Select System Management Settings
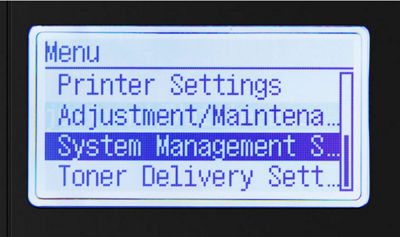
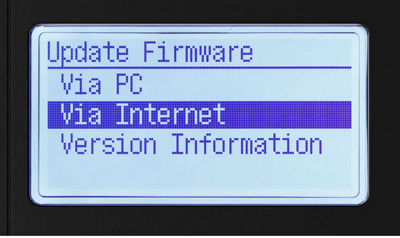
- Select Update Firmare
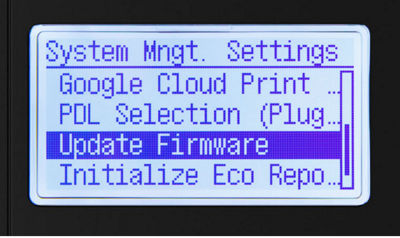

• Select Via Internet
• Install firmware update (if applicable)
• You will see a notification confirming that your firmware version is latest available
• If firmware update is needed, your device will power off and restart once the update is complete
Note: This step is necessary for online enrollment
Step 2: How to Retrieve Serial Number, Check Digits / Verification Code
• Select Menu button on panel


• Select Toner Delivery Settings
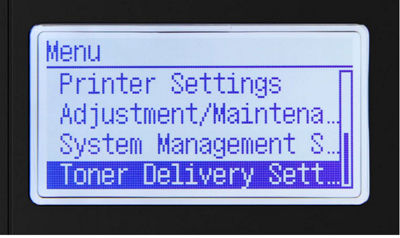
• Select Register for Toner Replenishment
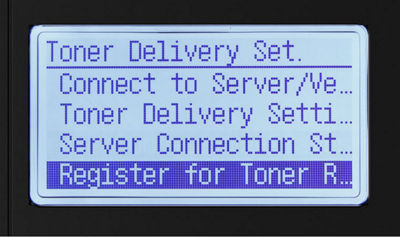

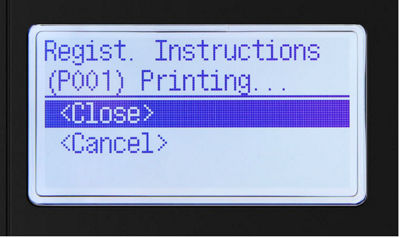
• Select OK to print serial number and verification code
• Select <Close> to continue or <Cancel> to stop printing
Step 3: Activate Auto Replenishment Service
• Follow above instructions to get to Menu
• Select Toner Delivery Settings
• Select Toner Delivery Settings


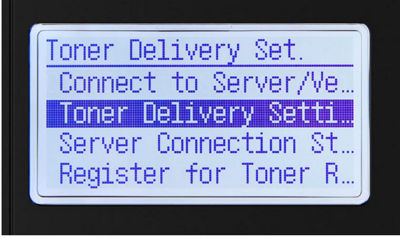
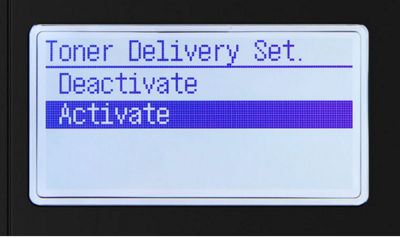
• Select Activate to begin setup
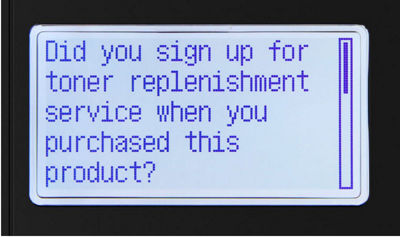
• Select OK button after reading first confirmation screen

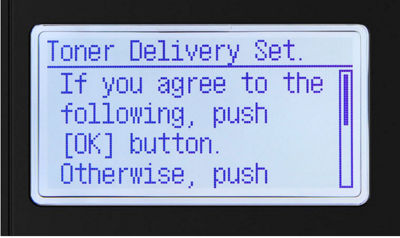
• Select OK button again to accept and continue setup
Step 4: Final Validation Steps
Next, you should see the following validation screen
• Select OK button
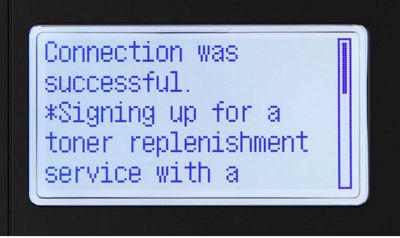

• If an error message occurs, follow on-screen instructions
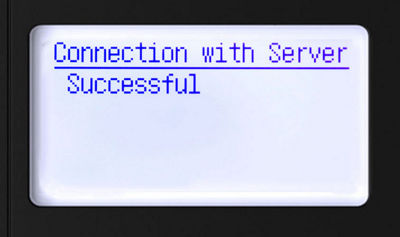
• Check server connection status by selecting
Server Connection Status
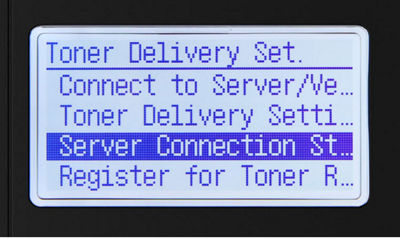
You should see the following Successful screen
