The Canon EOS R is unquestionably the most potentially customizable camera ever from Canon, as of its late 2018 introduction. In this article, we’ll try to give users and those considering this camera an idea of what customization is possible, and how you might use some of the extensive choices to streamline camera control in different situations.
We’ll concentrate on the customization of buttons on the camera. In fact, within the EOS R’s Custom Functions menu, there are separate categories for how you can modify its controls:
Customize buttons
This will be the primary focus of this article
Customize dials
Change the operation of the Main Dial, Quick Control Dial, and Control Ring on Canon's RF lenses (and on the optional Control Ring Lens Mount Adapter EF-EOS R)
Customize M.Fn bar
Here is where you determine functionality for the touch-sensitive Multi-function bar

Buttons That Can be Customized
Within the Customize buttons category, the EOS R lets users change the function of 14 different camera controls for still-image shooting; if the camera is set to a video recording mode, that drops to 12 different buttons.
We’ll break them into the available buttons located on the top of the camera, and those on its back:


Top of camera:
Shutter button
Movie start button
M.Fn button
LCD panel illumination button
Mode button
Back of camera:
AF-ON button
AE Lock button (with asterisk icon)
AF point button
UP control key
LEFT control key
RIGHT control key
DOWN control key
SET button
Lens AF Stop buttons (on select Canon super-telephoto lenses only)
At the risk of sounding hopelessly obvious, be aware that most buttons we’re going to discuss are labeled on the camera (example — the AF-ON button), and if you customize it to change what it does, the label remains with the factory setting. It’s up to each user to know and understand what any re-mapped buttons will do, after he or she has begun to customize the EOS R camera.
Only one item from the list of customization can be applied to a particular button. You’re free to change to another function for a given button at any time, or return it to its factory-default setting. But you can’t assign several customization functions to one button, beyond what a particular customization option allows.
And, only these buttons can be re-configured. Other buttons on the camera, like the INFO or ERASE buttons, for example, cannot be customized, and you won’t see them available on the Customize Buttons screen.
Range of Possibilities
A few general points here, before we dive into the details. First, while the number of potential changes users can apply to most of the buttons are much more extensive than we’ve seen on previous Canon EOS DSLRs, each control has a specific, factory-set list of possible functions you can apply. And, these do vary in some cases, from one control to another. For instance, there are 25 possible choices to modify the rear AF point select button when you shoot still images, but 41 for the adjacent AE Lock button.
Furthermore, it’s not possible (as of late 2018) to add or delete items from the factory-set customization list for each control — if a feature isn’t listed on the menu for customizing a particular button, it can’t be added to that button’s capabilities.
Even with this, the list of possible changes is far more extensive than we’ve seen in previous Canon EOS DSLRs. To take just one example, the AF-ON button on the top-of-the-line EOS-1D X Mark II digital SLR camera gives the user 9 possible ways to customize it; the same AF-ON button on the EOS R provides 41 possible choices.

And, the EOS R’s customization changes, depending on if the camera is in a still-image shooting mode, or switched over to a video shooting mode. Set to video, you lose the ability to customize the function of the Movie Start button (on top of the camera, with the red dot icon), and the shutter button, via the Customize buttons menu. (However, in a video shooting mode, there are settings in the 4th Set-up Menu screen for Shutter Button function, allowing users to modify how it operates for a half-press and full press during video shooting.)
And, in a video shooting mode, the possible functions you can apply to a particular button sometimes change from what’s available in a still-image shooting mode. This is absolutely normal, and not a sign of any malfunction.
The Customization Choices, Explained
Again, not every button has every one of the following settings. But here’s a rundown of each camera function that you may encounter, for button customization.
AF-related Button Customization

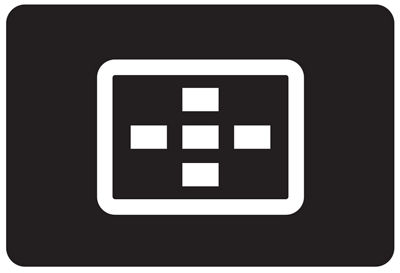

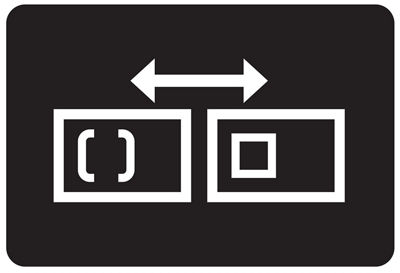


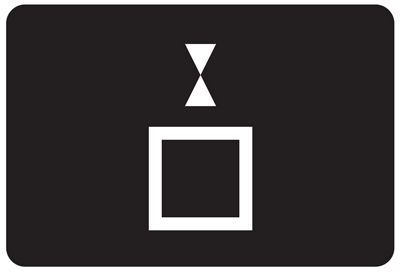
METERING AND AF START
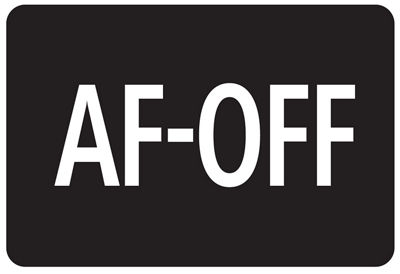
Pressing the button wakes up the camera, and activates autofocus. This is classic “back-button AF,” and it can now be re-mapped to other buttons on the camera, if you desire. It’s the default setting for the EOS R’s AF-ON button.
AF STOP
Focus Lock. Apply this to a button, and temporarily lock Servo AF, while the button is held down. When you release the button, Servo AF resumes, assuming you’ve continued to hold down whichever button is activating AF.
AE LOCK, AF STOP
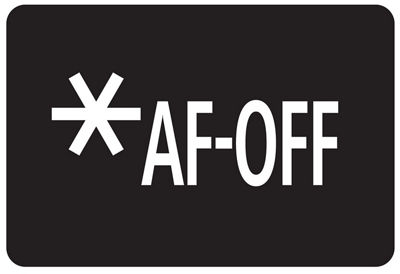
Lock both exposure and autofocus, while this button is held down. Continuous auto exposure and focus immediately are re-activated once your finger comes off this button (AF resumes assuming you’ve maintained a constant push on whichever button is activating AF).
AF POINT SELECTION
Immediately call up touch buttons on the LCD monitor, or visible guides in the viewfinder, for AF point options: * Return to Center (press ERASE button) * Select AF Method (or area, via M.Fn button) *Magnify image (via INFO button) *Return to normal shooting view (via SET button) Note that once you’ve pressed a button and initiate AF point selection, the other buttons indicated in the guide (like the M.Fn or SET button) will always perform the AF point-related tasks you see in the finder or on the LCD monitor, even if you’ve otherwise customized those particular buttons.
SET AF POINT TO CENTER
A quick shortcut to instantly return an AF point, or larger AF area, to the center of the image area. By default, this is normally done via the ERASE button, but you’re free to add it to any available button that can be customized with it.
DIRECT AF METHOD SELECTION
Each press on a customized button toggles you through the different AF Method (area) settings…from single point AF, through the AF Point Expansion settings, to the larger Zone AF settings, and finally to Face Detect + Tracking. A quick way to change the size of the AF point or area you’re working with. (Default method: Press AF point select button, then press M.Fn button.)
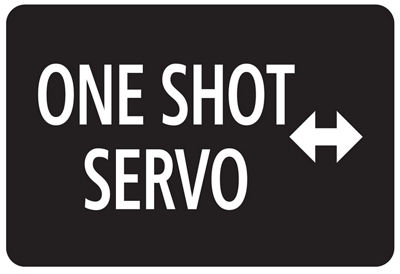
ONE SHOT AF < > SERVO AF
Each press on the button toggles you between One Shot AF (for stationary subjects) and Servo AF (for moving subjects). Useful for photographers who find the need to quickly change from one type of subject and AF Operation to another, especially for those who prefer to use the shutter button for AF, rather than “back-button AF.”
TOUCH & DRAG AF
Press the button to quickly toggle the Touch & Drag AF on or off. This won’t call up the Touch & Drag AF menu, but rather simply alternates between the feature being on or off — and you’ll briefly see the on–off status indicated in the viewfinder or on the LCD monitor. It uses whatever Touch & Drag AF settings have been last set in the Touch & Drag menu, on the first AF Menu screen.
EYE DETECT AF
If you have EOS R’s Face Detect AF + Tracking active, and you’re in One Shot AF, pressing the button toggles the additional Eye Detect AF on or off (again, you’ll briefly see the on–off status appear in the finder as you press the button).
FOCUS GUIDE
In any AF Method (area) setting, including Face Detect + Tracking, press the button to toggle the Focus Guide feature (for fine adjustment of manual focus) on and off. As with most other on–off custom button settings, you’ll briefly see the on–off status in the VF or LCD monitor. Focus guide is a manual focus tool, so when active, you’ll see it: * If the lens is switched to Manual Focus * With either a Canon RF lens, or an EF/EF-S lens (Nano USM, STM, or electronic manual focus USM lenses only) — lock autofocus in One Shot AF, hold it via AF activation button, and manually turn lens focus ring…the Focus Guide appears as you manually focus. With RF lenses, and EF/EF-S lenses with STM or Nano USM focus, requires EOS R’s Lens Electronic MF menu (AF Menu, screen #4) to be set to One Shot > enabled. Not possible with EF or EF-S lenses using mechanical full-time manual focusing.


Exposure-related Custom Button Options






METERING START
Applies to the shutter button only. A half-press activates metering, and wakes the camera up…AF activation is removed from the shutter button when this is active. This is where the shutter button would be set for traditional “back-button AF” activation. (Note: Even though the icon used here is the same as the one symbolizing Evaluative metering, in this case, it refers to any metering pattern the photographer may have set.)
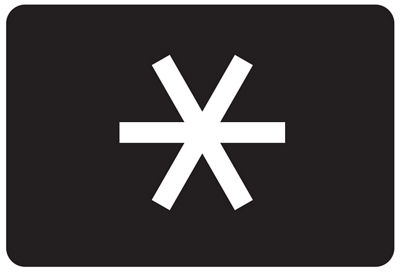
AE LOCK
Conventional Canon AE Lock, when the button is pressed. Asterisk icon appears in viewfinder or LCD monitor, to indicate it’s active. To cancel the traditional AE Lock, either take a picture (AE Lock clears after two seconds of inactivity, after shot is taken); wait for meter timer to go off and asterisk icon to disappear, or turn camera off and back on again. Don’t just press the button again…that simply takes a new AE Lock reading, and clears whatever you last locked in.
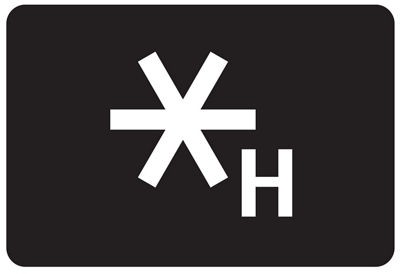
AE LOCK (HOLD)
A different type of AE Lock…unlike Canon’s traditional AE Lock, AE Lock with Hold allows simply pressing the button a second time to clear it, and when it’s active, it will remain active for the duration of Auto Power Off, rather than simply until the meter timer clears viewfinder information. With either version of AE Lock, in Manual mode, you can lock metering upon one area of a scene, and as you move to other areas, see the difference on the analog metering scale in brightness, in 1/3-stop increments, vs. the initial area you locked exposure upon. This can be especially effective if you combine it with the camera’s Spot metering.
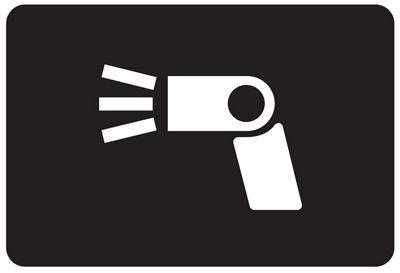
AE LOCK (while button pressed)
Unlike virtually every other customization option here, this one applies only to a half-press on the shutter button. As the name suggests, if you set the shutter button up this way, you can have AE Lock at the shutter button, instead of having to press another button. And, unlike when AE Lock is applied via a separate button, if you simply lift your finger off the shutter button for a moment, AE Lock is immediately cancelled, and continuously-updated metering is active again.
AE Lock / Flash Exposure Lock
With a Canon Speedlite (EX- or EL-series) attached to the camera, Flash Exposure Lock will be performed when this button is pressed, and a single pre-flash fired by the camera (E-TTL exposure is taken from a spot area at the center of the frame, calculated, and stored in memory for at least 16 seconds…longer if you keep a finger half-pressed on the shutter button). Ambient exposure is not locked. Without flash, the button performs traditional Canon AE Lock (for ambient light only). At the factory default settings, this is what the AE Lock button (with asterisk icon) is set to.
EXPOSURE COMPENSATION (hold this button, turn Main Dial)
An important option for users who want to combine Manual exposure mode with Auto ISO…this will allow for intentional under- and over-exposure. Press and hold in the button (AF-ON button, AE Lock button, or SET button), and turn Main Dial. This can also be used in P, Av, and Tv modes…in Fv mode, it can speed up intentional Exposure Compensation, relieving users of the need to first rotate the rear dial to highlight the Exposure Comp scale and then apply the exposure adjustment they desire.
SET ISO SPEED (hold this button, turn Main Dial)
Another potentially important command, since the EOS R doesn’t have a default ISO button on its exterior. If you prefer not to perform ISO adjustments with the Control Ring on RF lenses (and the Control Ring Lens Mount Adapter EF–EOS R) or the touchscreen buttons on the LCD panel, this can restore ISO control that’s somewhat similar to how it’s done on EOS DSLRs.
FLASH FUNCTION SETTINGS
A shortcut to immediately call up the Flash Functions Settings menu. For serious Speedlite users, especially with Wireless E-TTL, this provides a quick way to make changes to flash exposure, wireless flash ratios, and more.
FEL (Flash Exposure Lock)
Press this button to fire a pre-flash with Canon EX- or EL-series Speedlites, and perform Flash Exposure Lock. The camera reads that pre-flash from a central spot area (regardless of what metering pattern is shown in the Quick Control Menu of the EOS R), actual flash output for proper exposure instantly calculated by the camera, and that flash exposure is held in memory for 16 seconds…enough time to re-compose the camera, make adjustments to ambient light, and so on. Press the shutter button fully to take the flash picture. At default camera settings, FEL is performed by pressing the AE Lock button (with asterisk icon).


Movie Functions for Customized Buttons


MOVIES
Start and stop video recording by pressing this button. By default, this is the setting for the Movie Shooting button, on top of the camera with the red dot, but this start-stop function can be moved to various other EOS R buttons.
PAUSE MOVIE SERVO AF
Press this button to temporarily halt Movie Servo AF, and essentially lock focus. This provides an alternate method to lock AF via a button, instead of the touch-activated button on the LCD monitor. It’s a toggle: press a customized button once to halt Movie Servo AF (you can remove your finger from it, and AF remains locked); press that button again to resume Movie Servo AF.


Direct Button Controls




MODE
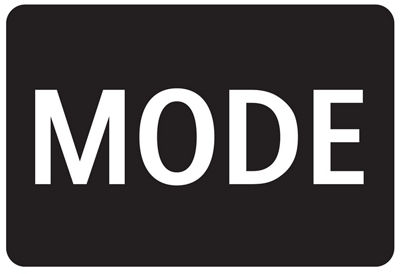
Relocate the MODE button from its marked top position to any of six alternate locations (press the customized button, and turn the Quick Control Dial to change the camera’s shooting mode). A potentially important customized command for any users who prefer to change the function of the marked MODE button.
SWITCH TO CUSTOM SHOOTING MODE
Dedicate a button to instantly move you from whichever shooting mode you’re currently in through the three “Custom” shooting mode options (C1–C2–C3), cycling you through each “C” mode with each press of the button. This is potentially very useful to EOS R users who rely on the memorized, Custom shooting modes to quickly change a host of camera settings as shooting conditions change.
DEPTH-OF-FIELD PREVIEW
Since the EOS R camera does not have a default depth-of-field preview button, this allows users to customize a button and allow previewing sharpness at actual shooting aperture, before a shot is taken. Two important notes: * This function is not available when the EOS R is in a video recording exposure mode. * Modeling flash with EX-series Speedlites is not possible on the EOS R by pressing a button assigned to Depth-of-Field control.
DIAL FUNCTION SETTINGS
Press this button, and immediately call up the five available camera settings that can be individually selected with the rear Quick Control Dial, and then adjusted via the Main Dial on top of the camera. By default, this is what the small Multi-function (M.Fn) button does, but you can re-map another button to call up this info in the viewfinder, or on the LCD monitor.
AUTO
In Fv (Flexible-priority) shooting mode, return the currently-selected value (shutter speed, aperture, or ISO with the orange icon for Quick Control Dial adjacent to it) back to automatic exposure control, if it was changed to a manual setting.
ALL AUTO
For Fv shooting mode, return all manually-set values back to full-auto control, with the underscore character under each symbolizing that they’re being set by the camera. One-touch restoration of full auto exposure when in Fv mode.
QUICK CONTROL SCREEN
The Quick Control menu screen is an important feature on the EOS R, since it lets users make changes to a number of important camera settings in one place (AF Method, AF Operation, Drive speed, Metering pattern, White Balance, and numerous others). If you prefer to bring it up by pressing a button, rather than tapping the “Q” icon on the LCD monitor (or having to press INFO to bring up the Q-icon), customizing a button for immediate access to the Quick Control menu screen can speed up the way you work with the EOS R.
MENU DISPLAY
Activate the standard Menu with a push of this button. It adds a second potential button for accessing the Menu, if the existing MENU button on the left-rear of the camera isn’t always convenient for you.
OFF
This option simply turns a button off, so it has no effect if you press it. You might want to consider this customization option for a button you simply find inconvenient to reach, perhaps find yourself pressing accidentally, or if there’s a factory-standard function you simply never use, and don’t have another assignable function you want to apply to that button instead.


Top LCD Panel Control
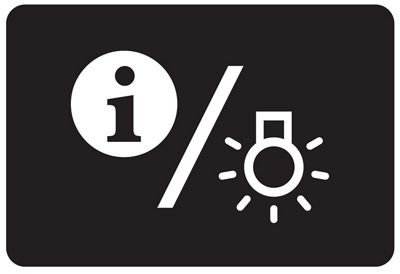
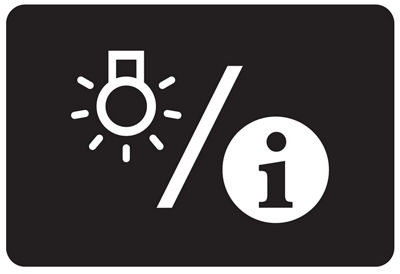


INFO / ILLUMINATION
Standard operation for what’s displayed on the top, black & white LCD panel. A quick press-and-release toggles the information on camera settings that’s displayed; a longer press switches to a back-illuminated, black-on-white appearance for easier viewing in dim conditions. This is the default operation for the Illuminator button, on top of the EOS R.
ILLUMINATION / INFO
Top LCD panel control, but reversed from above: Quick press toggles illumination on and off; a longer press switches the actual information displayed on the top panel.
LCD PANEL ILLUMINATION
A quick press of the button, once it’s customized with this function, activates illumination for the top LCD information panel. Press it again to turn illumination off, and return to a black display with white characters.
LCD PANEL INFORMATION SWITCHING
Customize a button to toggle between the basic and detailed information display on the top LCD panel. No simultaneous control of whether or not the panel is illuminated with a long press.


Viewfinder & LCD Monitor Control
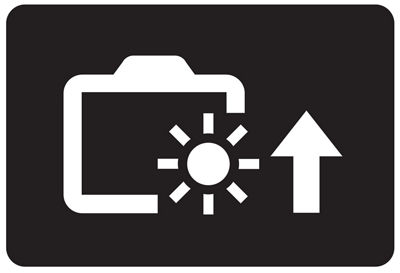

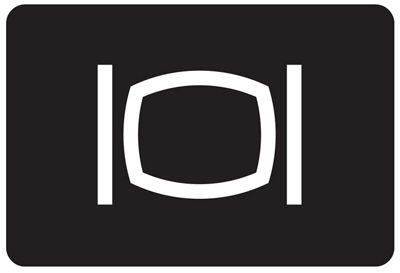


MAXIMIZE SCREEN BRIGHTNESS (temporary)
Push this button to temporarily change the LCD monitor to full brightness — potentially useful for reviewing images or Live View shooting in bright outdoor lighting. Display reverts to original brightness level if button is pushed again, or after the “Display Off” and Auto Power Off (two separate power-saving settings) have both elapsed. Note that this does not impact the brightness for Menu displays, nor does it impact the brightness of the eye-level viewfinder.
DISPLAY OFF
Dedicate a button to turning off the LCD monitor — one way to conserve battery power once you’ve removed your eye from the EOS R’s electronic viewfinder. Tap the shutter button again to wake the LCD monitor back up. Again, this only shuts off the LCD monitor, if it’s active…the eye-level viewfinder and any Menu displays on the rear LCD monitor are not impacted by this command.
SWITCH BETWEEN VIEWFINDER / SCREEN (LCD monitor)
Override the automatic switching between the EVF and LCD monitor, which normally activates the LCD monitor as you move your eye away from the viewfinder. A push on this button toggles between viewing strictly thru the finder, or the LCD monitor. It also works if you’ve intentionally shut down the sensor that performs auto EVF/LCD switching (Manual Display Control, under Display Settings in the 4th yellow Set-up Menu screen).
ECO mode
ECO mode is a power-saving feature that dims the LCD monitor after a few seconds, and shuts it off completely after about 10 seconds of inactivity (it can be brought back on by activating nearly any button on the EOS R). ECO mode is normally either fully on or off, via a setting on the 2nd yellow Set-up Menu screen. Whether you’ve got it menu-activated or not, you can customize a button to toggle the feature on or off with each press.
MAGNIFY / REDUCE
Streamline the process of magnifying the viewfinder or LCD monitor display when composing pictures or video. Instead of pressing the AF point button and then the INFO button, you can press one customized button and magnify the view to check focus or other details before you shoot. Move the magnified area with the Main Dial and Quick Control Dial (in other words, you can magnify any section of the image area, via the dials). Press either the customized button again, or the SET button, to toggle back to the normal full scene view. Two notes: 1) This is set independently for still-image and video shooting, in the EOS R’s Customize Buttons menu. If you want the capability for video and for still images, you need to set it twice, whether or not you apply Magnify/Reduce to the same button. 2) Magnify/Reduce via this customization applies only to the live view (EVF or LCD) before you shoot. To magnify a playback image, press the MAGNIFY button (small blue magnifying glass icon, on the back of the camera).


Quick Access to Shooting Features

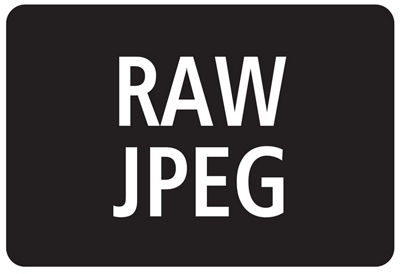
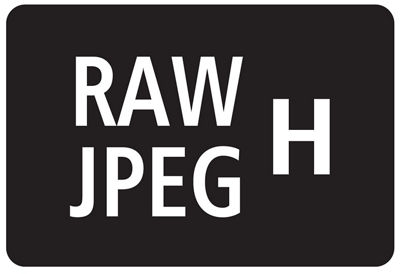


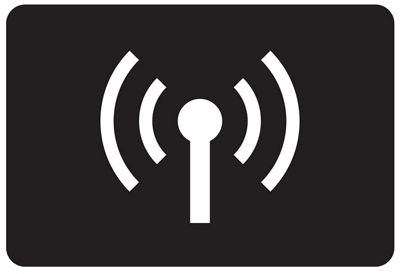
IMAGE QUALITY
If you frequently change file types — JPEG to RAW and back, or change recording resolutions or file sizes (such as from RAW to C-RAW), assigning a button with this feature can immediately call up the menu screen with Image Quality choices — saving you the time required to drill down into the standard menu screens to find this manually.
ONE-TOUCH IMAGE QUALITY SETTING
Press this button, and the next shot you take — one image only — will be at the RAW and/or JPEG settings you’ve assigned. Once you choose this for a button customization option, you’ll see “INFO / Detail Set.” appear on the same screen. Press the INFO button on the camera or tap this onscreen icon, and all the RAW and JPEG image quality options open. You can pick either full RAW or C-RAW (or no RAW at all), and/or any of the JPEG options. Again, the idea of One-Touch Image Quality is that no matter what image type you’re normally shooting, you can quickly override it for one picture by pressing this customized button.
ONE-TOUCH IMAGE QUALITY WITH HOLD
Similar to above, but now, press the customized button once and the EOS R will continue to shoot at whatever image quality/file types you’ve assigned to the button, for as many shots as you want. As you shoot, you’ll see the onscreen icons for image quality blink on and off, indicating a temporary shift from your normally-set RAW or JPEG setting. Press the button again to clear this and return to your normally-set image quality setting; it’ll also revert back to your original setting if the camera goes to sleep via Auto Power Off (but please note…One-Touch IQ with Hold remains in effect if the viewfinder/LCD monitor off timer kicks in — Auto Power Off puts the entire camera to sleep after the EVF/LCD display timers activate).
PICTURE STYLE
Immediate access to the Picture Style menu screen. Tap INFO on this screen (or press the camera’s INFO button) to access the Detail Settings for any given Picture Style, and independently change Sharpness amount, Sharpness “fineness” and “threshold,” Contrast, Saturation, and Color Tone. Often ignored by many Canon users, Picture Style can be a very significant contributor to the “look” and initial quality of your images. And, it’s especially important for video users who don’t rely on Canon Log, as well as still-image shooters who will be shooting in-camera JPEG images.
SELECT FOLDER
This feature will call up the “Select Folder” menu screen, allowing you to create a new, numbered image folder on your memory card, or to switch from one existing card folder to another (any subsequent images would then go into the folder you have selected). Again, it’s a shortcut to a feature that is otherwise accessible via the yellow Set-up Menu — saving you time if this is something you tend to use and apply as you shoot stills or video.
WI-FI® FUNCTION
A shortcut to the camera’s Wi-Fi menu. With a push of this button, you can quickly call up a menu screen to either Enable or Disable Wi-Fi altogether, as well as change your Wi-Fi settings (for instance, change from communication with your smartphone to a tablet or other device).


Image Playback Features

PROTECT
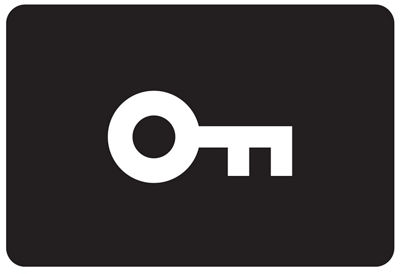
During image playback, press a button with this function assigned, and the file you’re currently looking at is marked to protect it from being erased if you deliberately (or accidentally) hit the camera’s ERASE button. Each time you come to an image you want to protect from erasure, just press the PROTECT button, and a little icon which looks like an old skeleton key appears whenever shooting info appears onscreen during playback. Important note: “Protecting” an image this way protects it from being erased, but will not protect it if the memory card is formatted in-camera.
RATING
As you review images during playback, you can press this button and apply a star rating (1 to 5 stars) for each image as it’s visible on the LCD monitor or in the viewfinder. If you assign this feature to a button, and then tap the INFO icon which appears on the customization screen, you now can tell the EOS R whether you want to only apply one type of star rating (for example, press the button and 3 stars appear), or toggle through multiple star ratings for each press of the button. For instance, with 1 star thru 5 stars checked, when you play back an image and press the button, it initially applies a 1-star rating, press again and it changes to 2-stars, and so on, up to 5-stars. Press again one more time, and the image reverts to no star rating. The star ratings can be an effective way to initially organize images, and they’re visible if the images are opened in Canon’s Digital Photo Professional (DPP) software, as well as when viewed in many third-party software programs.


Summary
We’ve outlined the tremendous potential for customizing the buttons on the EOS R camera, and hopefully provided some insight into what the different settings would do, and why a user might want to consider applying them to a given button on the camera.
As we said initially, there are separate menus for customizing the dials on the camera (that is, the Main Dial, the Quick Control Dial, and the Control Ring on Canon’s RF lenses and the optional Canon Control Ring Lens Mount Adapter EF-EOS R). And, there’s another separate menu item for setting up and customizing the touch-sensitive Multi-function bar, on the back of the EOS R camera.
There’s a lot here, but as you go through the options, think of things you’d like to be able to simply get to quickly as you shoot video or still images, and whether there’s a button that if customized that way would make your shooting experience smoother and faster. Even if you only end up customizing a button or two, you’ve taken a step toward making the EOS R camera your EOS R.


