When you're starting out, photography terms can sound intimidating and overly technical. Your DSLR camera has lots of controls and menus that do different things, and that can be confusing. But, don't worry, help is on the way!
In this article, we'll look at some essential photography terms, and give you what you need to know to talk about your passion like a pro. Along the way you’ll see that knowing what the terms mean, and knowing how to work with them, will also make you a better photographer.
Learning how to get the best out of your camera and experimenting with the different settings is a rewarding experience —and this introduction to photography terms will show you how.
Aperture
An aperture is simply an opening in the lens similar to the pupil in your eye. When you take a photograph, the camera’s shutter opens and lets light flood through the lens to capture a scene, object or person on the image sensor. When you set the aperture, you determine how big that opening will be in the lens.
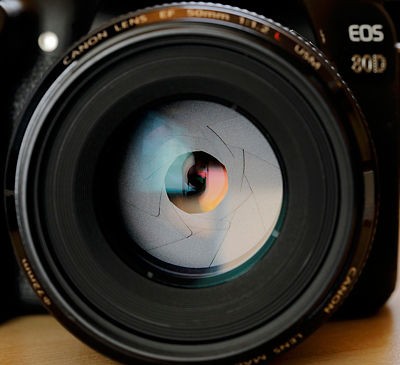
Photo Credit: Eric Stoner
When the opening is large, lots of light gets in. When it is small, less light gets in. This affects the exposure of your photograph, making it appear brighter or darker. It also affects the depth of field (see explanation below). You control the size of the aperture by adjusting the f-stop.
F-Stop
F-stops are expressed as numbers with the letter 'f' in front of them, for example, f/1.4, f/11, or f/22. You might have seen them on your camera's LCD display, or written in photography magazines.
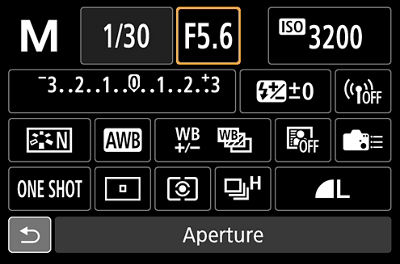
The most important thing to know is that the smaller the f-stop number, the bigger the opening in the lens, and the larger the f-stop number, the smaller the opening. This can be confusing at first as it seems to be the wrong way around. Just remember: small number equals more light. Big number equals less light.
Depth of Field
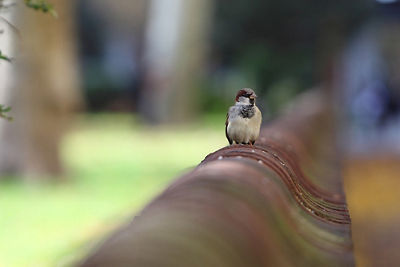
Depth of field is the term used to describe how much of your photograph is in focus or blurry. The f-stop number controls the depth of field by determining how light is focused on the individual elements of an image.
Think of photographs that focus on an object in the foreground and have a blurry background. This is a shallow depth of field. Now, imagine a photograph of a landscape that appears to go on for miles and miles. Everything is in focus from the foreground to the distant horizon. This is a large depth of field.
When you select a low f-stop, like f/2.8, only what you focus on will be sharp and the foreground and background will be out of focus. When you set a high f-stop, like f/22, all the elements will be crisp and in focus.

The best way to learn how f-stops work is to experiment. Place an object on a table, set your camera to Av on the mode dial and the lowest f-stop and take a snap. Now, take the photograph again. Don't change anything except the f-stop; move it up to the next setting. Keep doing this until you reach the highest number. Can you see the difference it makes?
Bokeh
Bokeh is a Japanese term that relates to, but is different from, depth of field. As we have learned, blurry backgrounds occur in photographs with a shallow depth of field. Bokeh is a subtler term as it refers to the look, or quality, of the blur itself.
Out of focus or blurry areas are most appealing when they look soft; highlights and points of light appear as smooth circles that seem to merge into one another. This is what you're aiming for: this is good bokeh. When out-of-focus areas are too busy or unappealing, they will distract the eye, and draw attention from the subject of the photograph.
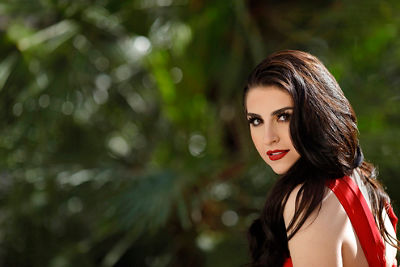
Pay attention to the blurry parts of your photograph. Are they smooth and appealing? Or are they harsh and distracting? Try different camera settings and see how they change the bokeh. You can also experiment with using bokeh across an entire photograph, not just in certain areas.
ISO
ISO was used in the days of analog photography to describe how sensitive a roll of film is to light. In digital photography, it describes how sensitive an image sensor is to light. In the old days, you picked the ISO when choosing your film. Nowadays, with a digital camera, you can select the ISO every time you take a snap. It’s a very handy feature.
ISO is expressed in numbers. Put simply, a low ISO setting means low light sensitivity. This is useful in bright environments where you want to limit light sensitivity and avoid overexposure. The higher the ISO, the higher the light sensitivity. In darker settings, where you want to capture as much light as possible, you'll want to up the ISO.
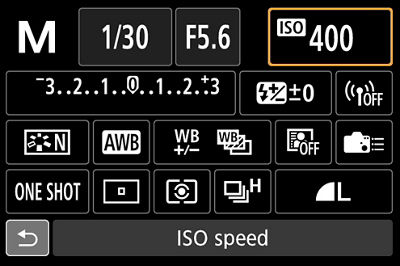
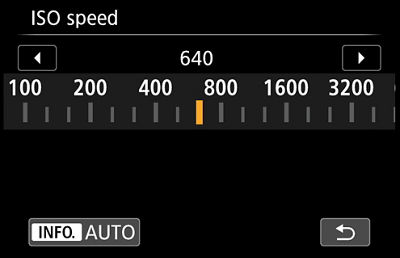
Bear in mind that ISO has another effect on your photographs. The lower the ISO, the sharper the image; the higher the ISO, the grainier it appears. This might be an undesired effect, but it can also produce a unique look that harkens back to film photography.
Shutter Speed
While aperture relates to the size of the opening in the lens, shutter speed controls how long that hole is open. One of the best ways to understand how it works is to imagine a fast-moving object, like a passing car. The longer the hole is open the more movement it will capture.
Shutter speed is expressed in numbers that refer to fraction of seconds. You'll see it written like this: 1/30, 1/250 or 1/2000. There are many numbers in between. The lower the number, the longer the hole stays open.
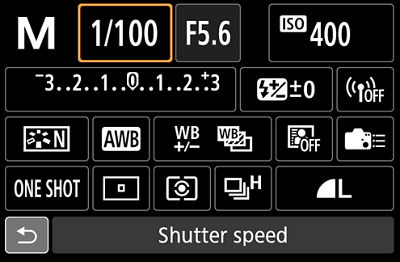
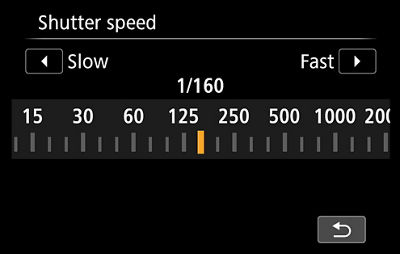
A low setting shows more movement and the result is more blurry; think of romantic shots of misty waterfalls or light trails at night. A high setting will create a sharp image; this is very useful for capturing action at sports events.
But remember the longer the hole is open, the more camera shake you'll get, which can make the entire image blurry. Settings below 1/30 usually require the help of a tripod to avoid this.
Metering
Many of the terms above refer to how light is controlled in your photographs. Metering allows you to measure brightness and determine the best settings to use for a shot. Many DSLR cameras come with built-in metering. On most Canon DSLRs, you can choose from a range of options including spot, partial center-weighted and evaluative metering.
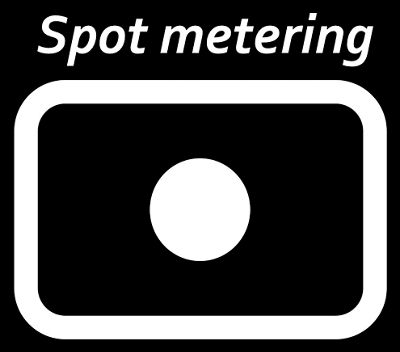
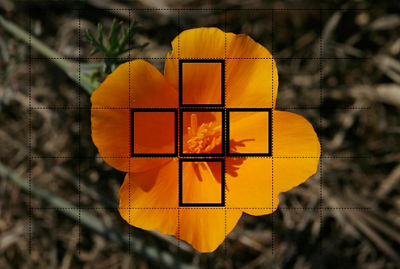
Spot metering will take a reading from a specific point — generally the middle 3.5% of the frame on many Canon cameras.
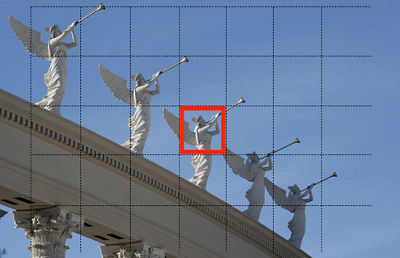
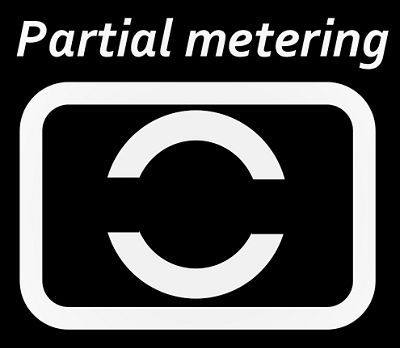
Partial metering takes a reading from a slightly bigger area than spot reading (generally about 10% of the middle of the frame), but will not measure the entire image.
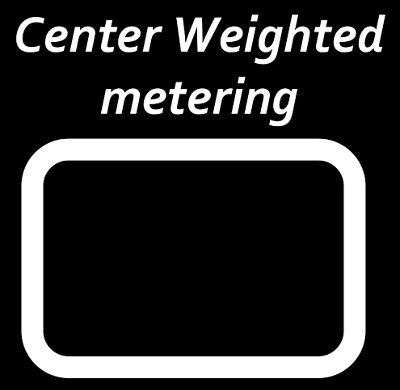
Center-weighted metering uses the entire frame, concentrating the bulk of its metering in the center and gradually falls off from there.

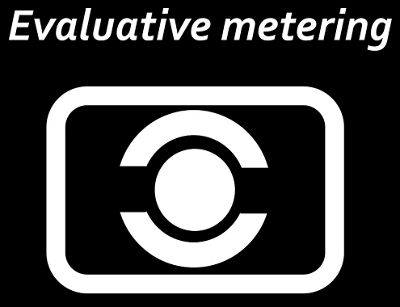
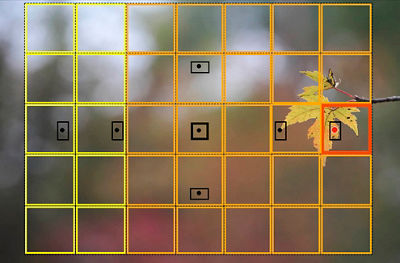
Evaluative metering takes a reading from across the whole area and changes its concentration depending on the focus point chosen.
Exposure Compensation
This technical-sounding term simply means telling your camera to make an image lighter or darker than its automatic light meter recommends. Positive exposure compensation (+) lets more light into the lens, while negative exposure compensation (-) lets less light in.
Exposure compensation is a handy feature to use in awkward lighting situations, for example, when you are taking a photograph of a sunset or when sunlight is reflecting off a snowy landscape. Different cameras have different ways of adjusting exposure compensation. On Canon EOS Rebel models push the +/ - sign on the rear of the camera and then turn the main dial behind the exposure button. On all other Canon EOS DSLR cameras, simply turn the main dial with your thumb on the rear of the camera. Next time you encounter challenging lighting, try experimenting with exposure compensation.
Low Key/ High Key
When you decide to produce a low key or a high key photograph, you're thinking about extremes of contrast. In other words, a high key image is bright and evenly toned, and a low key image is dark and full of contrast.
In a high key photograph, there will not be many shadows and the image (though properly exposed) may appear flooded with light. This technique uses a lot of exposure and creates an up-tempo mood. It is often used in fashion photography or contemporary portraits.
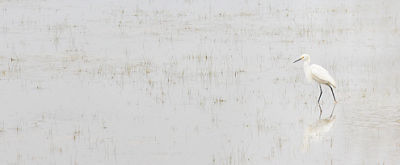
At the opposite end of the spectrum, low key photographs seem very dark. They will make use of dramatic contrast. Shadows will dominate but highlights will be bold. This technique creates a more somber mood, but it can also be very high-impact.

Photo Credit: Eric Stoner
White Balance
We often think that white is white, and do not consider its variations. However, when white is too 'warm' it will appear to be yellowish. When it's too 'cold,' it appears to be bluer.
All Canon DSLR cameras come with presets that allow you to change the white balance. The best way to understand how each one works is to take a sheet of white paper and photograph it several times. Each time you do, adjust the white balance and see how the white paper changes its color. Your camera comes with white balance presets for you to choose from based on lighting condition. You may also use AWB (Auto White Balance), explained below.
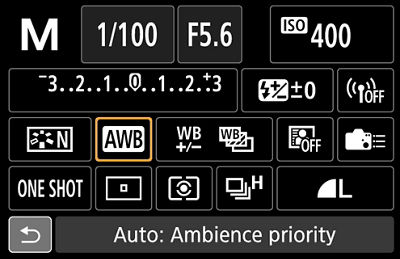
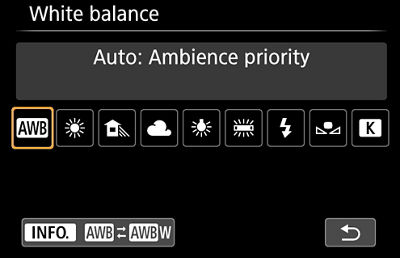
When you are setting up a shot, ensure that the white you see onscreen is the same as the white you can see in front of you. For example, if you’re taking a photograph in an outdoor setting, try the white balance option with the “sun” icon. If you’re photographing indoors under tungsten lights, try the “light bulb” white balance icon. In general, however, using the AWB setting will do a fine job most of the time so you don’t have to switch the white balance constantly. If you know you have achieved the proper white balance, you can be sure that all the other colors in your photograph will appear natural too.
Photography terms can be intimidating at first. But by working through them one by one, and trying out the different controls and techniques, you'll learn exactly how your camera can create an image on a technical level, and how you can create beautiful photographs with a full range of features.
The CDLC contributors are compensated spokespersons and actual users of the Canon products that they promote.

