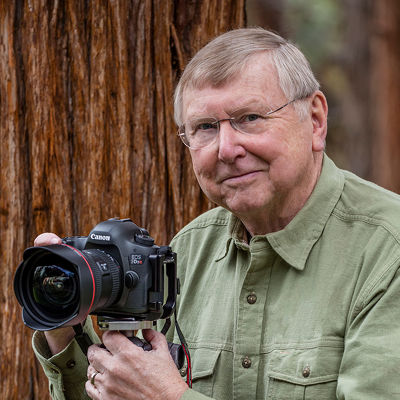
Successful wildlife photography requires that we photographers practice the fine art of minimization—of human form, movement, noise, and our impact on the subjects we seek. Knowledge of wildlife behavior and the approaches that are safe for both subject and photographer are key elements, augmented by the use non-intrusive equipment and camouflage, including permanent and portable blinds, or “hides” as they are known in some countries.
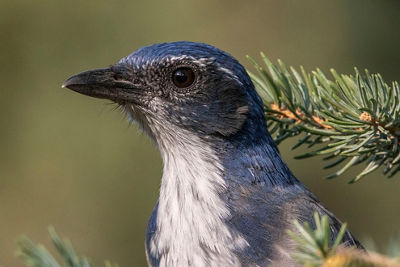
WORKING WITH THE EOS R
The Canon EOS R mirrorless camera has a number of features that make it ideal for photography from a blind, but chief among these is its quiet operation. Although a photographer and blind may have been completely accepted by nearby birds or animals, the click of a shutter can undo all the careful efforts at approach, scattering the subjects in a hurry. At capture, a DSLR’s mirror slaps up against the viewfinder prism causing a significant, startling sound. But the EOS R’s mirrorless technology eliminates that issue. Even better, the EOS R’s silent shutter mode is exactly that—completely silent. It is similar to capturing video, except that a single full resolution frame is being captured, soundlessly, at each deployment of the shutter button. This feature alone is, to me, a compelling reason to use the EOS R for wildlife photography from a blind.
Yes, silence is golden. But with the EOS R, you don’t have to give up anything else to achieve it. Many other attributes of the camera are relevant for use in close proximity to sensitive subjects.
Smaller Size — The smaller size of the EOS R matters in this case, as the space in a portable blind is usually minimal. The ability to quickly access all the controls, and to customize those controls to the situation and the photographer’s preferences, offers strong advantages in the field. Below, note the size differences between the EOS 5D Mark IV on the left and the EOS R, right.
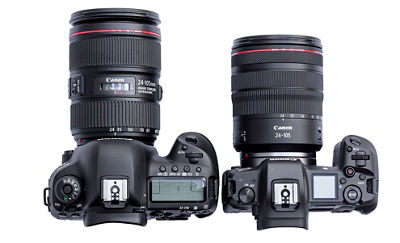
The EOS R is about a half-pound lighter than the 5D Mark IV, and that can make a difference in the field when long telephoto lenses are used and long hikes are involved.
Electronic Viewfinder — It’s an advantage to be able to view a display of critical settings while monitoring the subject through the EOS R’s electronic viewfinder (EVF). The EVF also enables the photographer to view the image as it will actually be captured by the camera, incorporating all of the current exposure settings and making it easy to determine where adjustments are needed.
Articulated LCD — Working from a blind requires patience; there are times when the photographer is focused on a subject such as a nest or den for an extended period, waiting for action. With the EOS R’s bright, sharp, and articulated rear LCD, the situation can be monitored without having one’s eye constantly at the viewfinder. Focus may be precisely placed by enlarging the image on the LCD; this is particularly important when working with extremely long lenses and minimal depth of field. The touchscreen feature can also be helpful for setting focus as the subject moves into different parts of the frame. The photographer has the option of whether to display essential camera settings on the LCD or to devote the entire screen to the subject.
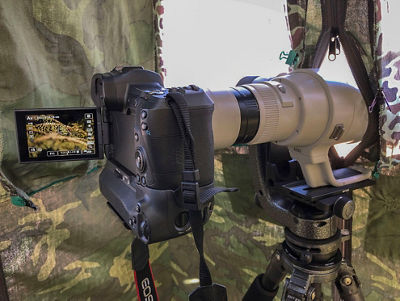
Lens Compatibility — All Canon EF telephoto lenses are compatible with the EOS R with the addition of one of three available lens mount adapters: the Mount Adapter EF-EOS R (the basic adapter), Control Ring Mount Adapter EF-EOS R, and Drop-In Filter Mount Adapter EF-EOS R. In my tests, the telephoto lenses we would normally use to photograph from a blind, as well as the Extender EF 2x III and Extender EF 1.4x III, have worked seamlessly with the EOS R. The Canon Extension Tubes EF 25 II and EF 12 II are also compatible, and you’ll need them if you are able to get closer than the minimal focusing distance of the mounted lens.
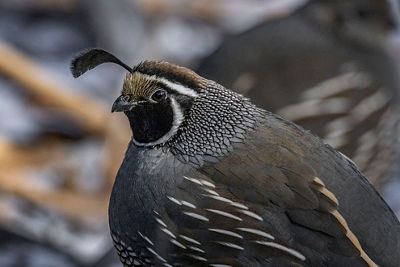
Autofocus Capabilities — Wildlife photography sometimes requires extreme focal lengths, but the addition of tele-extenders to reach out reduces the maximum aperture of the camera/lens combination, which eliminates the possibility of autofocus with some camera bodies. For example, the two-stop loss caused by a 2x extender diminishes the effective maximum aperture of an f/5.6 lens to f/11. Most entry-level DSLRs will autofocus with lenses f/5.6 or faster, while newer advanced DSLRs will autofocus with lenses f/8 or faster. The ability of the EOS R to maintain autofocus with lenses as slow as f/11 resolves this issue, meaning that a lens like the EF 100-400mm f/4.5-5.6L MK II is definitely viable with the Extender EF 2x III attached, because of the AF capability. The same goes with the EF 800mm f/5.6L with the EF 2x MK III, offering up a surprisingly sharp 1600mm with AF!
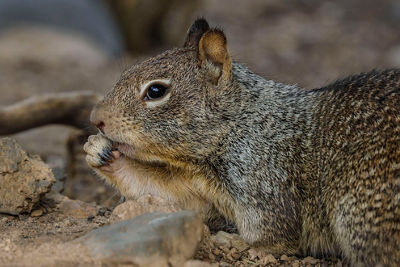
Flash Compatibility — All EX series flashes are compatible with the EOS R camera body. A menu in the camera can control the flashes, as it can sometimes be difficult to access the flash itself when shooting from a blind. Menu-driven flash control is possible from the camera, even for wireless flash set-ups with multiple off-camera Canon Speedlites.
Battery Power — The battery in the EOS R is the same Canon LP-E6N rechargeable battery as that in many other EOS cameras, so if you’re adding the “R” camera to an existing EOS system you’ll likely have extra batteries to share. But wildlife photography is time-consuming; there are often long periods of time spent in the blind with the camera active while the photographer waits for subjects and action. An accessory to consider is the Battery Grip BG-E22 that attaches to the bottom of the EOS R body and replaces the internal battery; the grip holds two batteries and doubles the capacity for the R camera.
Field Ruggedness — While working from a blind generally protects the photographer and equipment from the elements, the EOS R is resistant to both dust and water and has a shutter durability of 200,000 cycles.
Wi-Fi® — When camera movement must be completely controlled, such as when using long lenses to capture stationary subjects, the EOS R may be fired remotely using the Canon Camera Connect App with the camera’s built-in Wi-Fi and Bluetooth feature. Camera Connect also enables the camera’s EVF feed to be monitored on a smartphone or tablet, and many of the camera controls can be remotely adjusted from your phone or tablet’s screen. A direct remote connection to the camera can be accomplished using a single pin remote RS-60E3, or if you already have a three pin TC-80N3 remote, an adapter RA-E3 cable can help with that connection.
Video Options — The EOS R offers two important ways to use video: for video capture at a variety of speeds and resolutions, and for single-frame grabs. The camera is capable of 4K video at 29.97p (30fps) and 23.98p (24fps) frames per second. At full HD (1080p), the camera can record at 59.97p (60fps) frames per second. In an HD (720p) High Frame Rate mode, the EOS R can record at a very smooth 119.9 (120fps) frames per second.
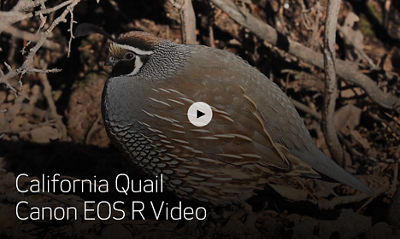
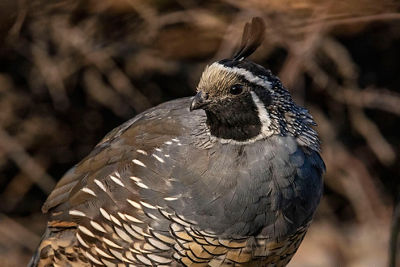
A 50-second HD video of California quail, photographed from a blind using the Canon EOS R.
When the video capability is used to generate single-frame captures, it’s tantamount to having a motor drive at 30 frames per second with the equivalent of an 8.3 megapixel camera. If the frame capture is sharp and well-exposed, the resulting file can easily be enlarged to 13x19 inches in size and looks great on social media. The frame cropping for the 4K video mode is 1.7x. This can be an advantage for those needing long reach, as is often the case when photographing wildlife. For example, when using the EOS R camera in 4K with a 600mm lens and Extender 2x III (1200mm) and adding the 4K crop factor of 1.7x, you have the equivalent of a 2040mm lens of incredible quality in either 4K video or the 8.3 MP still photo frame grabs. That’s powerful reach.
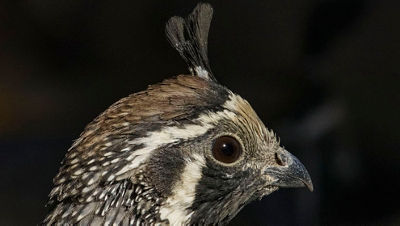
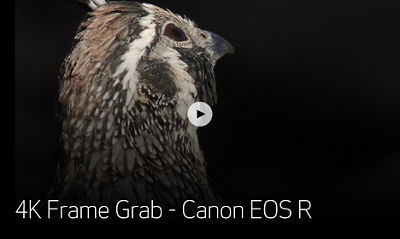
A 17 second video clip in slow motion from which the above 4K frame grab was taken.
CHOOSING YOUR BLIND
There are several types of blinds, ranging from simple clothing to permanent structures. Your choice in any given situation will depend upon the sensitivity of the subjects you seek, their environment, their range (how much you’ll need to carry and for what distance), and your own tolerance for the waiting game.
Basic Camouflage — Most animals in the wild are very aware of the human form, so one of the most important strategies of wildlife photography is to minimize or diffuse the body’s shape. This can be accomplished by wearing clothing patterned to blend into surrounding shapes and colors, and covering longer lenses with protective coatings in camouflage finishes. This tactic is most effective at longer ranges and can work well as long as movement is minimized.
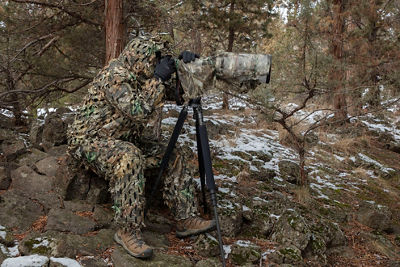
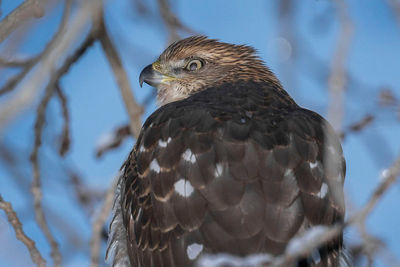
Camouflage Drape — One step better than just camo clothing is a camo drape—a piece of material large enough to cover the photographer, and with a double zipper or Velcro to facilitate the external positioning of the lens. The human form is well-concealed and some of a person’s movement is hidden. The best feature of this method is its mobility. It fits into a small bag and can be used in any place the photographer is positioned, with the tripod set accordingly. Various third-party companies market these drapes or “hides” to wildlife photography enthusiasts and hunters, and information is available online.
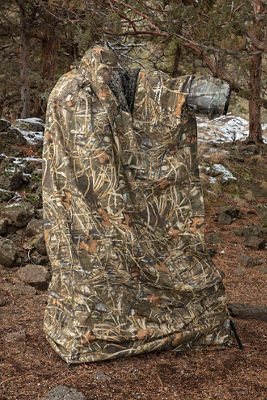
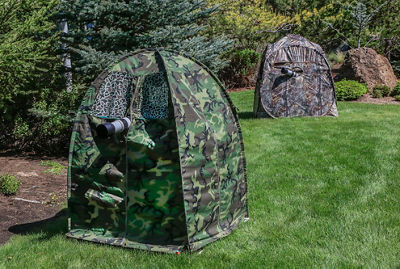
Basic Photo Blind — A portable blind is a camouflaged, framed structure that conceals the human form and any movement. The frame is usually a combination of flexible fiberglass rods similar to those found in many small tents or a simple PVC frame that is assembled on location. A structured blind adds an element of comfort because the photographer can sit for extended periods of time, stretch, sip, snack, and change positions without scaring the subject. (Pop-top cans are not recommended!) A light foldable chair or stool is a necessary accessory for a blind of this type. For warm locations, you need a blind constructed from lightweight, breathable fabric; for wet or wintery conditions, you want water-resistant material. Mesh-covered windows with a one-way view that allow the photographer to look outside are important both for ventilation and keeping track of the subjects. Double-pull zippers enable strategic placement of lenses at different heights and angles.
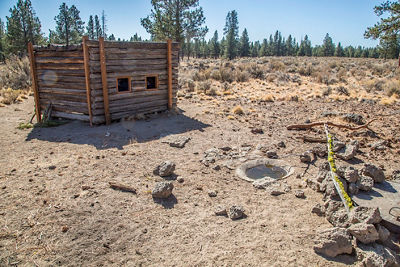
Permanent Blinds — These are structures that are constructed either in known habitats, such as the edge of a lake in a waterfowl refuge, or where there is a reason for subjects to congregate, like a water source in a dry environment. Reservations or consent of the property owner may be required, and this means that you might not be scheduled to be there when the wildlife appears.
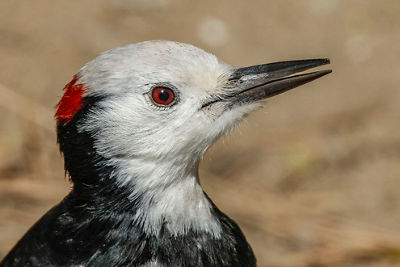
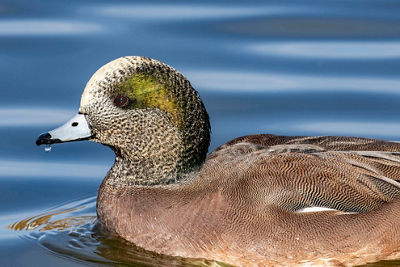
Vehicles as Blinds — Many wildlife subjects, especially waterfowl, are accustomed to vehicular traffic on nearby roads. In these instances, photographing from your parked vehicle can be extremely effective. Position the vehicle so that you can photograph from an open window, using the window frame (best protected by a bean bag) as support. Turn off the engine! This is a great way to work in wildlife refuges, where humans are allowed to exit their vehicles only in designated areas that photographic subjects often have learned to avoid.
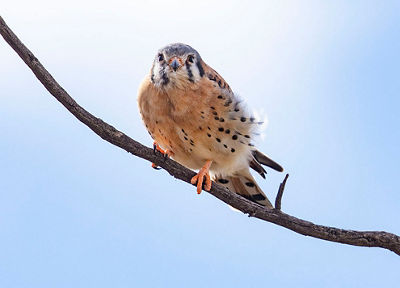
Remote Triggering — Wireless operation of an unattended camera can be initiated from a blind or from a distance where the subject is not affected by the photographer’s presence. The EOS R’s Wi-Fi and Canon Camera Connect app can be an answer for this type of wildlife capture. Set the camera up where you know there will be activity and monitor the scene on a smartphone or tablet. Focus and camera settings can be changed within the app. Camera Connect using Wi-Fi had a reliable range of about 30 feet in my tests. For longer range remote captures look to the CamRanger ad hoc Wi-Fi, which has a range of over 100 feet.
Positioning the Blind: Do No Harm
There are two primary reasons to use a photo blind: to get close to the subjects to capture better images that convey natural behavior and environments, and to protect the subjects from the stress of the photographer’s presence. But even when using a blind or camouflage, care must be taken not to disrupt the normal activities of wildlife. Moving the blind too quickly into position can cause a nest or den to be abandoned. Positioning the blind too closely, or between a key access point and the nest or den, may keep the adults from approaching to feed, causing irreparable harm. Approach slowly, and in modulated segments, closely observing and responding to any reactions from your potential subjects. Educate yourself about wildlife subjects. Be observant, and know what behavior is normal so that when your presence causes deviation, you can immediately end your session, remove your blind, and allow the animals to resume their lives.
IN CONCLUSION
Photographing wildlife from a blind is very rewarding, as you are intimately close and have the opportunity to view and capture behavior close-up and personal. But it takes time, patience, and acknowledged responsibility that no harm will come to those animals that are within range of your camera due to your presence. Work with equipment, like the EOS R, that facilitates your efforts to photograph from safe distances. Be respectful, keep the noise down, and turn off the cell phone! Enjoy a unique and memorable experience with nature.
All Canon contributors are compensated and actual users of Canon products promoted.


