
Print Presentation Basics: How to Make Every Detail Count
You’ve done the creative work. You’ve created something impressive. Now it’s time to bring it to life on paper.
But presentation is more than just hitting “Print.” It’s about making deliberate choices - about resolution, paper, scale, and handling - that elevate your image and reflect the care you put into it.
From first click to final display, here’s how to take your output from good to gallery-ready.
Start With the Right Resolution
Print presentation begins long before ink hits paper. The first step is making sure your file has sufficient resolution for the print size you're aiming for. For high-quality results, aim for 300 DPI at the final output size. That means an 8x10 print should be at least 2400 x 3000 pixels.
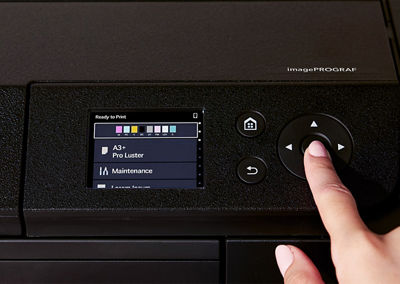
Avoid excessive upscaling - enlarging a small file too much can introduce artifacts or fake sharpness. If you’re starting with a large RAW file, you’re already ahead. Canon’s Professional Print & Layout software make it easy to preview output and scale images appropriately before you print.
Choose the Right Paper for the Image
Paper doesn’t just hold your image. It shapes how people see it. Canon offers a wide range of media, from glossy photo paper to textured fine art stocks. Each one interacts with ink differently.
- Glossy papers generally enhance color saturation and contrast
- Matte papers can soften tones and reduce glare
- Textured fine art papers often add a tactile dimension and visual richness
Canon provides ICC profiles for each of its Canon brand papers to help you create accurate, predictable color output.

Compatibility with Third-Party Media
If you prefer to print on third-party fine art stocks, common brands like Hahnemühle, Canson, Moab, and Red River all offer ICC profiles specifically tailored for Canon Professional Inkjet Photo Printers - giving you the freedom to explore premium papers while staying in control of the result.
Think About Size and Scale
Canon’s Professional Inkjet Photo Printers support a wide range of sheet sizes to match your creative needs:
- 4” x 6"
- 8” x 10”
- Letter (8.5” x 11”)
- 13” x 19”
- Custom panoramic prints up to 70" long (imagePROGRAF PRO-310) or even 129” (imagePROGRAF PRO-1100)
- And with the imagePROGRAF PRO-1100, you can also print 17” x 22"
But size alone doesn’t make a presentation feel right—intent does. A dramatic landscape may call for a long panoramic crop. A quiet portrait might benefit from generous white space to help the image breathe.
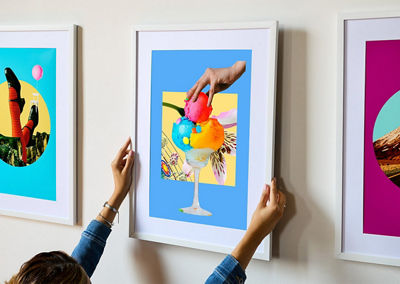
And if you plan to mat or frame your print, think ahead. Leave space for margins, bleed, or trim during your layout process. Many artists choose a paper size larger than their image to give themselves more flexibility at the final stage.
Handle With Care
Once printed, your image becomes a physical object - and deserves to be treated like one. Use clean, dry hands or cotton gloves when handling prints. Allow time for the ink to fully cure before framing or storing, especially on heavyweight fine art papers. Avoid high humidity and direct sunlight during storage or display unless the work is behind UV-protective glass.
Consider the Final Context
Are you selling prints online? Shipping them to a client? Hanging them in a gallery? Each scenario calls for different finishing decisions.
- For shipping, use acid-free tissue and rigid mailers to protect the surface.
- For framing, use archival materials throughout the mounting process.
- For display, think about lighting, including reflections and color temperature.
Even packaging can send a message about your work. When your presentation is carefully considered, your audience can feel it.
PIXMA PRO-200S
Let Your Print Speak for You
Presentation should never be an afterthought. After all, it’s the finishing stroke. It reflects your standards, your aesthetic, and your respect for the image itself.
Canon Professional Inkjet Photo Printers and software give you the technical precision. But you give the print its final shape. The choices you make - paper, size, margin, finish - are part of the story you’re telling.
So make each one count. Because once it’s on paper, it’s not just a print. It’s your work.
Learn More About Prepping for an Optimal Print
Thanks for signing up!
The application has encountered an unknown error. Please try again in a few minutes!
By clicking Sign Up, you are opting to receive promotional, educational, e-commerce and product registration emails from Canon USA. You can update your preferences or unsubscribe at anytime.