CUTTING PROCESS
By using Non-ContactDisplacement Sensor to measure the amount of material flow for cutting process, materials can be cut precisely as the measurement is done without physical contact and there are no errors casued by slips.

A non-contact displacement sensor is a measuring device that can measure the amount of movement, distance, and speed of the moving object in the in-plane direction with high accuracy.
Since the measurement results can always be output as A / B phase pulses, by integrating this product into the customer's production system, the efficient and uniform transfer of materials and parts and the stable feeding of these parts are intorduced to the application.
It greatly contributes to the prevention of defective products and the improvment of product quality.
Since this product can measure objects in a non-contact manner using an LED, it solves all the problems such as scratches generated by contact-type measuring instruments and meansurement errors due to friction and slippage.
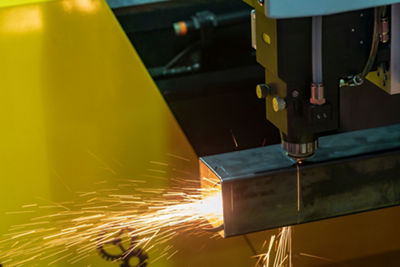
CUTTING PROCESS
By using Non-ContactDisplacement Sensor to measure the amount of material flow for cutting process, materials can be cut precisely as the measurement is done without physical contact and there are no errors casued by slips.

STAMPING PROCESS
Sudden acceleration and deceleration is common in stamping processes. Precise feeding amount control using Non-Contract Displacement Sensor can avoid broken tooling and defective products.

EXTRUSION PROCESS
Precise control over the extrusion process can be achieved by measuring the extrusion speed using Non-Contact Displacement Sensor. Product quality is improved as the measurement is done without physical contact.

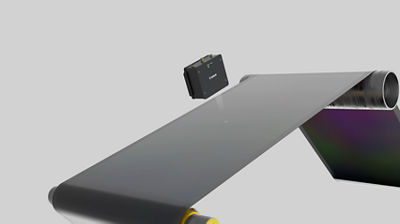
ROLL-TO-ROLL PROCESS
Roll-to-Roll Processing may have feeding errors due to roll slippage. By using a non-contact displacement sensor, errors can be prevented and lead to improved quality, reduced materials costs, and improved yield.
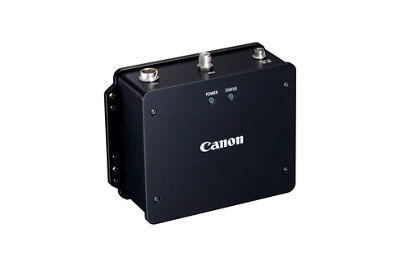
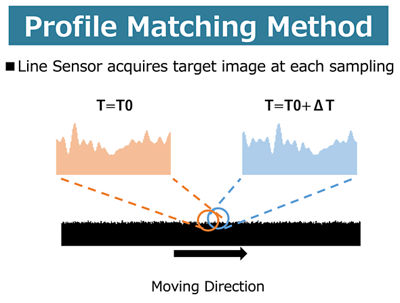
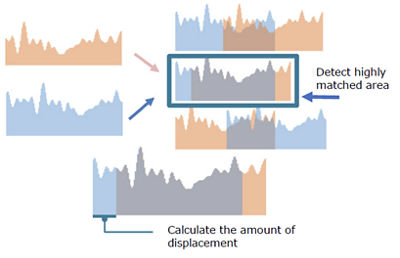
The PD-Series contactless measuring systems utilizes a profile matching method that works by capturing consecutive images of anpbject and using these images (profiles) to search for correlations (matches). Based on the differences in position, the system calculates the distance and speed at which the objects have moved. Although the system is contactless, it is capable of tracking moving subjects accelaerating as fast as 100G, enabling the detection of distance moved and speed of subjkects when manufacturing lines are abrubtly halted or drastically sped up. What's more, thanks to an optical system that accomodates vertical vibration of + 15mm, high-precision calculations are ensured even when shaking occurs due to changes in speed.
Works by capturing consecutive images of an pbject and using these images (profiles) to search for correlations (matches). Based on the differences in position, the system calculates the distance and speed.

Non-Contact Measurement
Precise measurement without touching objects
Tracks High Acceleration
Tracks fast acceleration (up to 100G)
Measure Velocity from Stationary State
Capable of measuring in both moving directions
Safe White LED
Unlike laser products, safety precautions aren't needed
Compact
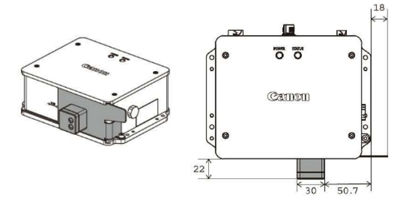
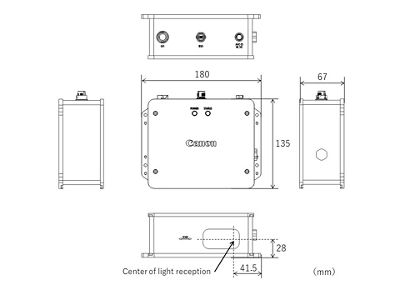
Space saving (180mm x 135mm x 67mm)

| PD-704 | PD-710
|
||
Measurement Speed Range
|
-4000mm/s ~ 4000mm/s (including a Stationary State) |
-10,000mm/s ~ 10,000mm/s (Including a stationary state) |
|
Measurement Method
|
Profile Matching Method | ||
Light Source
|
White LED | ||
Measurement Distance
(WD: Working Distance) |
70mm | ||
Measurement Range
|
±15mm (from Measurement Distance) | ||
Maximum Acceleration of Measurement Target
|
100G | ||
Measurement Resolution
|
1μm | ||
Sampling Rate
|
4kHz | ||
Pulse Output
|
1μm to 1,000μm (Adjustable by Application Software) | ||
| Phase A/B (RS422-Compliant Line Driver) | |||
Other Input/Output
|
Trigger Input | Photocoupler Insulated : 5V to 24V | |
| Error Output | Open collector output (Photocoupler Insulated) : 5V to 24V | ||
Measurement Accuracy*1
|
≤ ±0.2% (WD70±5mm) *When measured less than 50mm, ≤ 100μm |
≤ ±0.5% (WD70±15mm) *When measured less than 20mm, ≤ 100μm |
|
Measurement Repeatability*2
|
≤ 0.02% *When measured less than 100mm, ≤ 20μm |
||
USB Interface
|
USB 2.0 Full Speed (Compatible with USB 1.1) Compliant | ||
Power Voltage
|
DC12V ~ 24V | ||
Power Consumption
|
8W | ||
Operating Temperature
|
0°C ~ 50°C | ||
Storage Temperature
|
-30°C ~ 50°C | ||
Humidity
|
≤ 90%RH (Avoid Condensation) | ||
Vibration
|
Bare vibration: Tested under vibrating environment Frequency: 10 to 500Hz, 5G sin wave, 2 hours for XYZ directions | ||
IP Rating*3
|
IP65 | ||
Measureable Surface
|
Rough Surface*4 | ||
Dimensions
|
180mm × 135 × 67mm (without connections) | ||
Weight
|
2.6 lbs. (1.2kg) | ||
*1 When measured in our environment.
*2 When measured in our conditions.
*3 Only when used with a genuine optional I/O cable kit or an USB cable kit.
*4 A glossy mirror-like surface may not be measured.
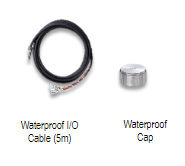
I/O Cable Kit
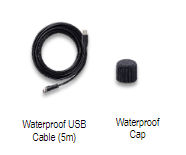
USB Cable Kit
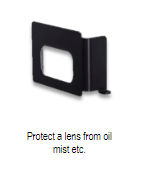
Protection Cover
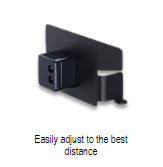
Distance Gauge
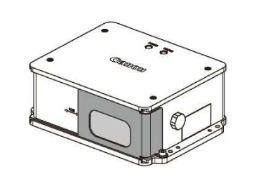
Protection Cover Usage
Distance Gauge Usage
